|
|
|||
HID Conversion Kit Installation
By LS1Tech Member: SeriousPWRTRIP Let me first begin by saying that I am in no way a professional in ANYTHING. I have only self-taught knowledge of car electronics. However, I felt really confident with this install. It is actually very simple, even though I felt a little overwhelmed after receiving the kit from LEDGauges.com and looking through the contents. I accomplished the whole install within 2 ½ hours. This time was mostly taking the plastic shrouds off the bottom of the car so I could have room to work and get a good look at possible mounting locations for the ballasts. Of course, I cleaned everything I could reach while I was laying under the car as well. I feel confident in writing this as a recommendation of how to install the kit. So far the light output and lights themselves have been great! NOTICE! I (or LEDGauges.com) will not be responsible for any damage done to your vehicle during or after the install process. I am only showing the process I used to install the HID conversion kit on my car. That being said, lets get down to business.
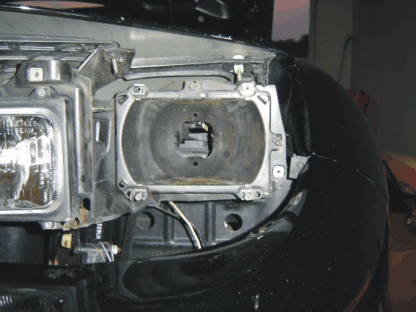
8000k LEDGauges HID conversion vs. Stock headlight Kit used: 8000k HID sealed beam T/A kit from LEDGauges.com Car: 2001 Pontiac Firebird Formula Approx. Time to Complete: 2 hours Tools recommended: -ramps, or jack and jackstands -philips head screwdriver - T-15 Torx screwdriver - T-20 Torx screwdriver - 4 Female disconnects #16-14 AWG - 10mm socket w/ ratchet - 8mm socket (optional, if you want to remove the front air dam for room to work) - crimper - wire stripper - wire cutter - zip ties - industrial strength Velcro (optional) NOTE: Disconnect the negative battery terminal before you begin and manually raise the headlights of the car. (I chose to leave the battery connected and the parking lights on which is NOT recommended, but I was afraid of future trouble with my headlight actuators after manually lifting them so I risked it.) Step 1: Pull the car onto the ramps or you can choose to place it on jack stands. You just need to be able to work in the area in front of the front wheel well. Of course, pop the hood and begin removing the stock headlight surrounds by unscrewing the 3 screws around the edges of each with a Philips head screwdriver. Leave the torx screws alone as they are for light adjustment only. After all 3 screws are undone, carefully pull the outside part of the cover towards the center of the car and slowly remove it. Try to keep all of your screws organized throughout this entire install. Step 2: Now that the plastic headlight shrouds are out of the way, go under the car and remove the 10mm bolts that hold the plastic shrouds on in front of the wheel wells. I also removed the 8mm bolts that held on the front air dam and took it off. Take off the plastic shrouds after the air dam and you will be able to look at the back of your DRLs and fog lights (in my case, but T/As will be slightly different). Now that you can see the area you are working with, you can try to get an idea of where to mount the ballasts. Step 3: Before mounting the ballasts, keep in mind that the wiring is different, so you need to make sure that all wires reach their destination. To insure that I didn’t choose a spot too far away, I decided to go ahead and install the HIDs into the new sealed beams provided with the kit and put them in the headlight housing. To do this, you need to take the old headlights out by removing the top 2 torx screws that are holding the headlight surround on (they are either t-15 or t-20, can’t remember which). Remove the headlight surround and remove the headlight itself by disconnecting the connector from the back of the light. This is what you should be down to now.
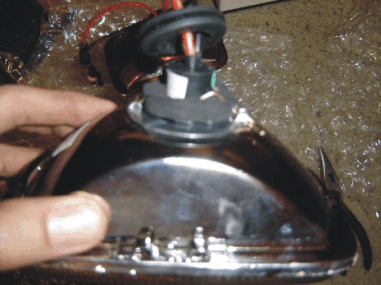
Step 4: Now that the old headlights are out, you are ready to put the new bulbs in their housings. This is where the pictures will help. In the pictures, notice that the plastic piece between the bulb itself and the o-ring is gone. This is because on our cars, there is not enough room between the back of the headlight housing and the light itself for all 3 pieces. To remove these, I used some needle-nose pliers and carefully cracked each plastic piece and slipped them off the wire. This is what it looked like afterwards.
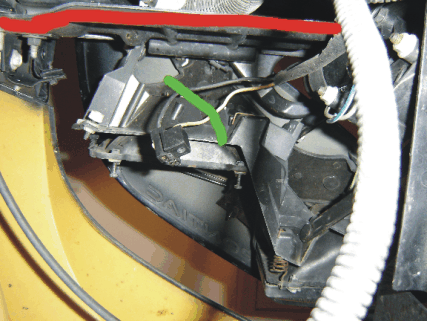
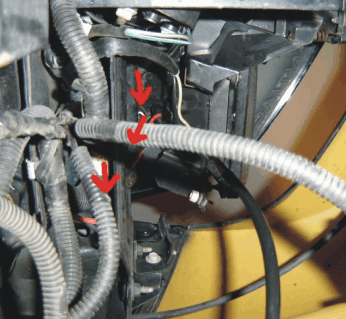
Step 5: Install the new lights in reverse of the way you took the old ones out. Run the wires behind the metal plate that sits behind the headlight housing. The metal plate is highlighted in red. You will need to run them in the area above it in picture 1. Look at picture 2 to see the wires run behind the plate. While you are here, go ahead and cut your stock female headlight connection off about an inch and a half away from the plastic with your wire cutters. This is shown in green in picture 1. Picture 1:
Picture 2:
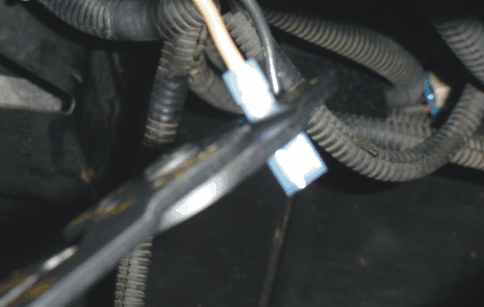
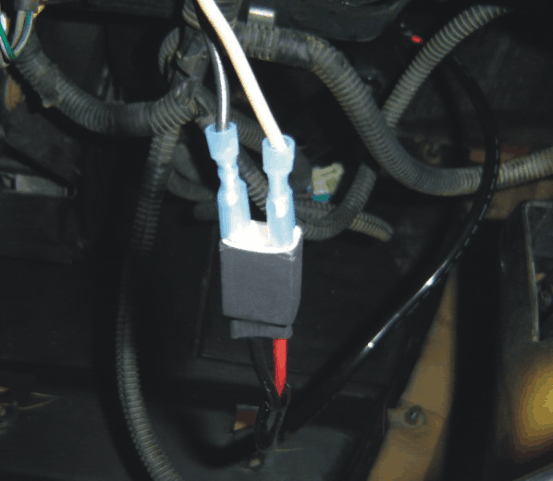
Step 6: After cutting your stock harness off, you will need to adapt the stock wiring to fit your new male harness that comes off of the ballast. To do this, strip the coating off both wires about ¾ of an inch from the tip. Get a female disconnect and insert the wire into the round end. Get your crimper and crimp the middle, as shown in this photo.
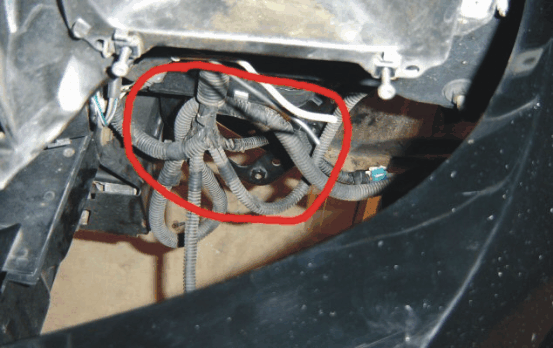
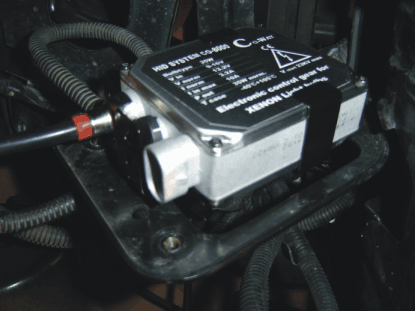
(NOTE: This picture was taken 2 days after the original install. I didn’t have any female disconnects handy when I did the install and simply used electrical tape until I could get to the store to buy some. It worked fine, but I recommend using the disconnects for reliability. If you are going to do it, do it right the first time!) Step 7: Hopefully this whole time you have been thinking about where to mount your ballasts. If you chose my mounting points, you can follow the rest of the steps. If not, you can adjust them to suit the locations you chose. On the driver’s side, I chose the AIR pump bracket that was not in use anymore. You can see it clearly in this picture circled in red.
NOTE: For cars with AIR, this bracket will hold the AIR pump and you will not be able to mount your ballast like I did mine. Be creative and work with a couple ideas before you decide on one. Make sure all wires reach! After you decide on your location, you are ready to install. The ballast actually comes with a bracket that can be screwed into the stock bolt holes that the AIR pump used. I used one of the screws that was supplied with the kit and screwed the ballast bracket onto the AIR pump bracket. The nut supplied was not needed due to the existing bolt hole the AIR bracket supplied. Here is a picture of the first position I tried to mount the ballast in.
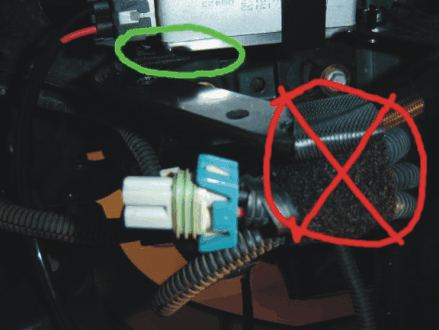
This position looked good at first, but upon trying to connect the wires, I needed a little more room, so I adjusted it slightly and ended up with this. The green circle highlights a few strips of Velcro that I used to hold the end of the ballast bracket in place. The red circle with the X is where I wish I would have had zip ties to do it right. That is the excess wiring from the AIR pump that I wanted to get out of the way. I will get zip ties and tie it up when I get the HID high beams and get back under the car.
Step 8: Now that you have done the hard part, go ahead and connect all of the wires. Slide the female disconnects coming off the stock wires onto the male connects that are on the wires coming from the ballasts. Black goes to black and white goes to red as shown in this picture.
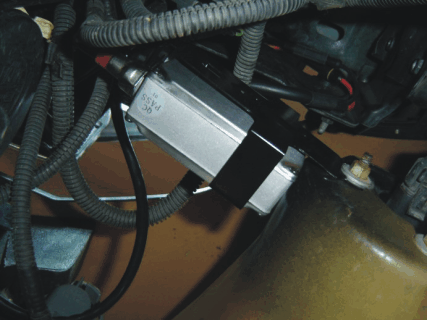
After connecting the stock wires to the ballasts, get the cable that came in your HID kit and connect it to the wire coming from the bulb. You should run this behind the metal plate that is behind the headlight housing as shown in Picture 2 of Step 5. Connect the other end to the ballast and check for headlight pop-up clearance and any issues that might cause the wire to get tangled or caught. If there are any issues, fix them immediately and you are ready to move on to the next side. Step 9: Follow the same steps you followed for the driver’s side on the passenger’s side. There will be one difference and that is your ballast placement. On the passenger side, you only have the horn to work around, so there is plenty of room, but not a lot of places to bolt a ballast to. I got creative and mounted this ballast sideways using a bolt from my fog light assembly as shown in this picture.
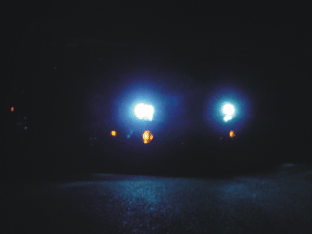
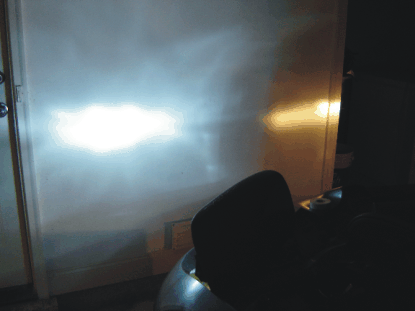
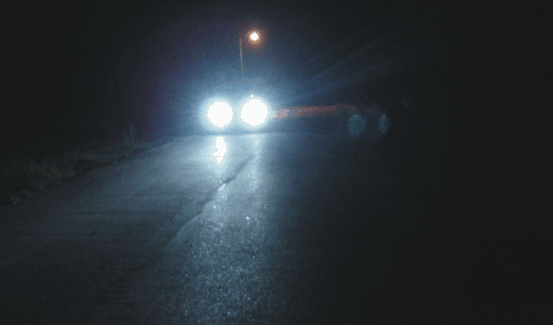
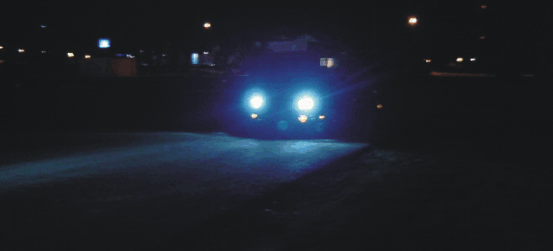
NOTE: This car is a Formula, so the placement of my fog lights differs from a Trans Am. I haven’t seen this portion of a T/A, so I’m not sure where you could mount it to. I’m sure the Daytime Running Lights of the T/A would have a bolt or at least have something around them to mount this to. After going back through all the steps for the passenger side, continue to Step 10 and finish things up so you can get back on the road. Step 10: Now that you are done with the install, its time to put your ride back together and admire your work. Work Steps 1 and 2 backwards to put the plastic shrouds back on the car and the headlight surrounds back on the headlight assembly. Also, if you took off the air dam, make sure you put it back on and secure all bolts before you get out from under the car. Reconnect your battery and turn your lights on. The humming is normal upon ignition of the lights and the glare you see will be minimized by a few minutes of adjustments. DONE! Now, it is time to take a step back and admire your work for a few minutes before you begin your adjustments. Yes, ADJUSTMENTS ARE NECESSARY IMMEDIATELY! Your best bet is to get a friend to go down the road a bit and sit and tell you how you are doing. Please be kind to other drivers and do this before you go riding around too much. Before Adjustments:
After Adjustments:
|

